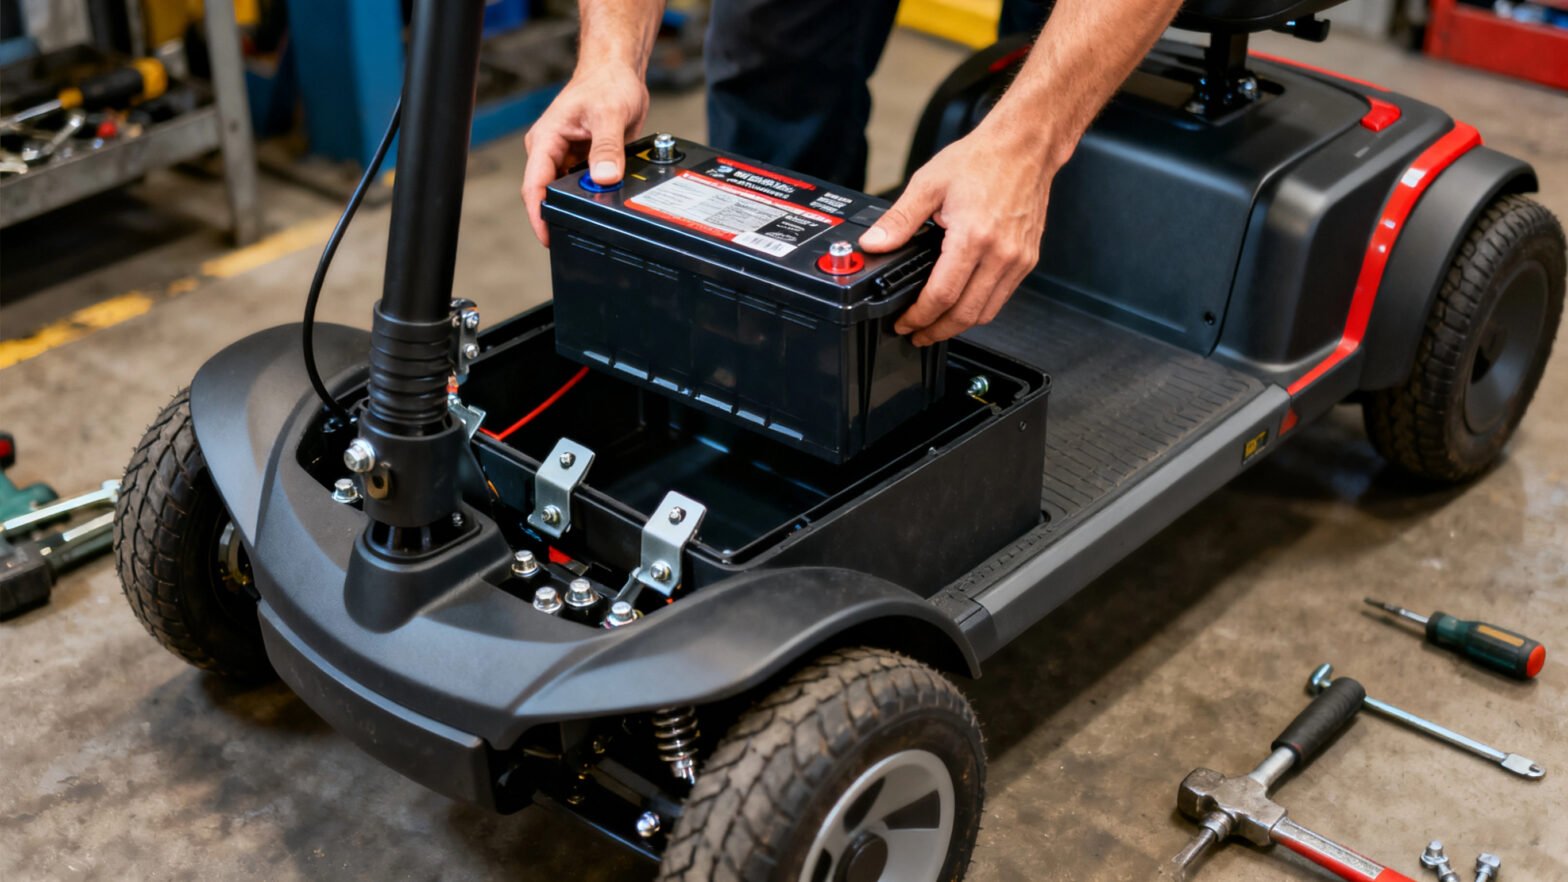
If your mobility scooter isn’t taking you as far as it once did, or if it’s been over a year since you last replaced its batteries, a battery issue might be the culprit. Before calling a technician or investing in new batteries, though, testing them yourself can save time and money. The key first step? Ensure your scooter is fully charged overnight—this ensures accurate results for every test. Below, we’ll break down simple, actionable ways to assess your mobility scooter batteries, from using built-in indicators to advanced tools like multimeters.
Step 1: Use the Built-In Battery Indicator
Every mobility scooter comes with a battery indicator to show remaining power, and it’s the easiest starting point for testing. First, locate this gauge: it might be a digital LED panel (with lights that illuminate to show charge level) or an analog amp meter (with an orange needle pointing to “full,” “half,” or “low”). These indicators vary slightly by model—for example, an Afikim S4 uses a bright LED display. While a Golden Technologies Patriot relies on a classic analog needle—but their purpose is the same.
To test:
Turn on the scooter (keep the key in the “on” position) and come to a complete stop on a flat surface.
Note the initial reading: a fully charged battery should show all LED lights on (for digital) or the needle at the “full” mark (for analog).
Gently press the throttle to start moving. Watch the indicator closely: if the lights dim rapidly or the needle drops sharply as soon as you begin moving, your batteries are likely weak and need replacement.
Step 2: Test Performance on a Slope
Mobility scooters work harder uphill, making slopes a great way to stress-test battery strength. Most scooters can handle a 6-degree slope (a common, manageable grade for nearly all models). So find a gentle hill or ramp that’s about 75% of your scooter’s maximum slope capacity (check your user manual for exact specs if needed).
Here’s how to do it:
Before ascending, confirm the battery indicator shows a full charge (all LEDs on or needle at “full”).
Slowly ride up the slope, keeping an eye on the indicator.
If the indicator plummets from near-full to below half-way while climbing, it’s a clear sign your batteries are no longer holding a charge effectively. This drop happens because weak batteries can’t sustain the extra power needed for uphill travel—they’re due for a replacement.
Step 3: Check the Charger (and Test Range)
Sometimes, a “bad battery” is actually a faulty charger. To rule this out, you’ll need to test your scooter’s travel range and confirm the charger is working properly.
First, find your scooter’s maximum range:
Consult your user manual (if you’ve lost it, sites like Mobility Scooters Direct offer downloadable manuals on each product page).
Note that most manufacturers base range on a 140-lb rider—if you weigh more, your actual range will be slightly lower (this is normal. So don’t mistake it for a battery issue).
Then, run the range test:
Charge the scooter overnight with its original charger.
The next day, ride it normally (on flat ground, at a steady speed) until the battery is fully drained (the scooter slows down or shuts off). Track the distance you traveled (use a phone app or map for accuracy).
Charge the scooter again overnight and repeat the test.
If the two distances are roughly the same. Your charger is working well—any range loss is likely from old batteries. If the second distance is significantly shorter (e.g., 5+ miles less than the first). The charger isn’t fully recharging the batteries. In this case, replace the charger with one that matches your scooter’s original specifications (using a mismatched charger can damage batteries further).
Step 4: Use a Multimeter for Accurate Voltage Readings
For the most precise battery test, use a multimeter—a tool that measures electrical voltage. Mobility scooter batteries are 12V DC each, and most scooters use two batteries (totaling 24V DC) to operate. You can buy a basic multimeter for under $20 at hardware stores, making this a cost-effective way to get definitive results.
Here’s how to test:
Set the multimeter to “vDC” (direct current voltage).
Locate your scooter’s charging port (usually on the side or front). Insert the multimeter’s red and black leads into the port’s left and right holes—it doesn’t matter which lead goes where.
With the scooter off, a healthy charge should read 24–25V DC. Anything below 23V means the batteries aren’t holding a full charge.
To test under load (mimicking real use), keep the leads in the port, turn the scooter on, and press the throttle to move. Watch the multimeter: if the voltage drops by more than 2–3V (e.g., from 24V to 21V or lower) while riding. The batteries are too weak to power the scooter reliably.
When to Replace Your Batteries
If any of these tests point to weak batteries—rapid indicator drops, steep voltage losses on a multimeter. Or range well below the manual’s specs—it’s time to replace them. Most mobility scooter batteries last 1–2 years with regular use, so if yours are older, replacement is probably overdue.
Testing your batteries yourself is simple, saves money, and helps you avoid unnecessary repairs. With these steps, you’ll know for sure whether new batteries are needed—and get back to riding with confidence.
Copyright@ 2026 Nanjing Kangni Smart Technology Co., Ltd. All Right Reserved.