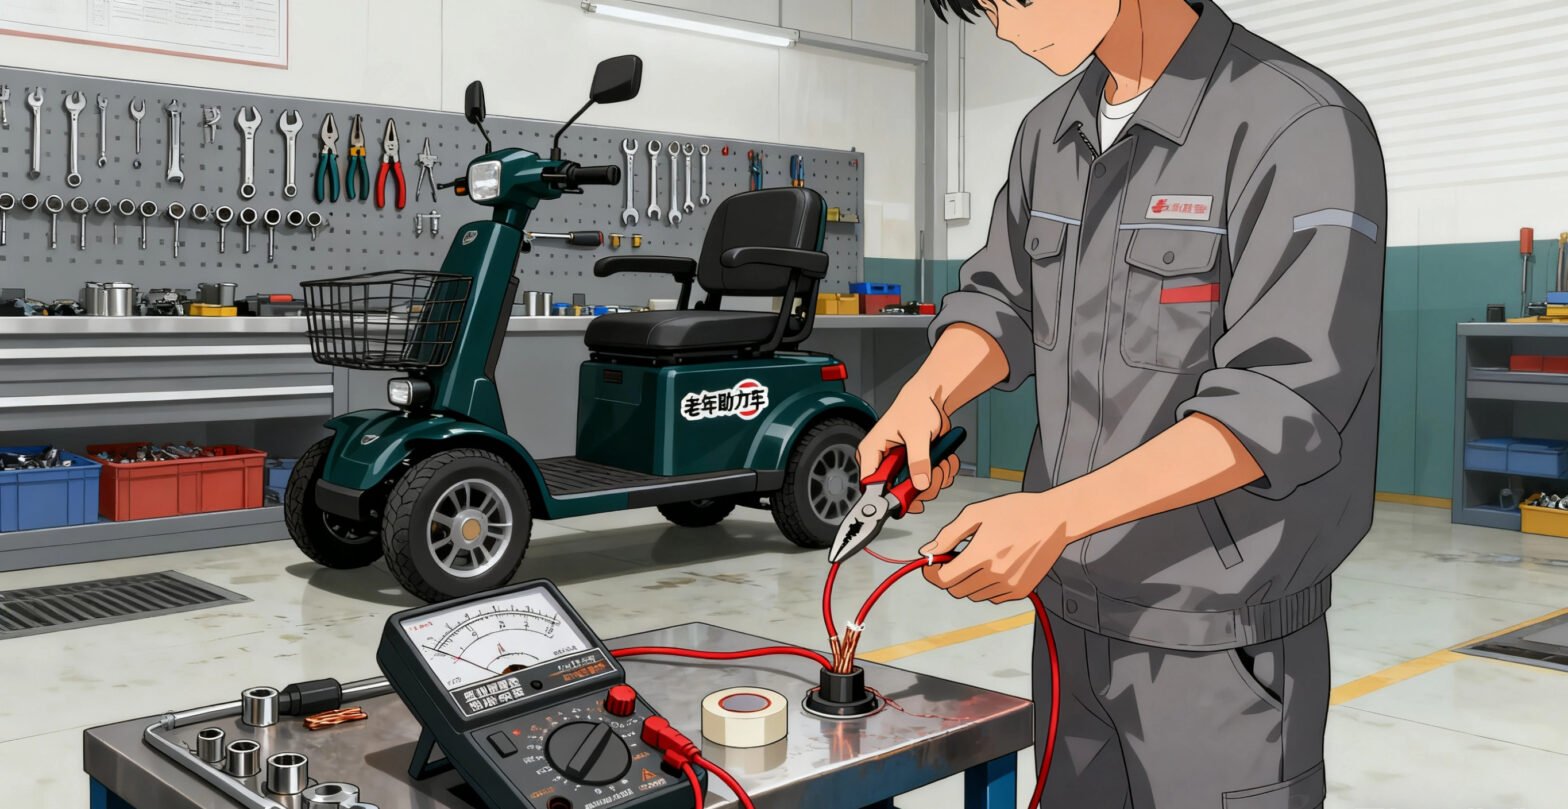
Mobility scooters give freedom to people with disabilities or mobility issues. They let users move around easily, whether it’s to the store or around the neighborhood. But many scooters have speed limiters. These parts cap the max speed, usually between 4 and 8 mph. For some users, this feels too slow—especially when trying to cover more ground quickly. So, it’s common to wonder how to remove these limiters.
First, let’s be clear: removing a speed limiter isn’t a decision to take lightly. It can be dangerous if done wrong, and it often voids your scooter’s warranty. Local laws might even ban it, as faster scooters raise accident risks. Always check your area’s rules and talk to the manufacturer or a pro first. But if you still want to learn the process, here’s what you need to know.
A speed limiter is a component in your scooter’s system that controls how fast it goes. It works by cutting back power to the motor when the scooter hits a set speed. Manufacturers install them for one big reason: safety.
Mobility scooters are often used on sidewalks, in shopping malls, or near pedestrians. Going faster than the limit makes it harder to stop quickly. This raises the chance of crashes, injuries to you, or harm to others. The limiter isn’t just a hassle—it’s a safety feature designed to protect everyone.
Where is the limiter located? It depends on your scooter’s brand and model, but it’s almost always in the controller. The controller is like the scooter’s brain, managing power to the motor. Some limiters are programmed into the controller’s software, while others are small physical parts (like resistors or wires) connected to it. There’s no universal “look” for a limiter—you’ll need your scooter’s manual to spot it.
The process changes with each scooter brand. Below are basic steps for three common types. Remember: These are general guides, not step-by-step instructions. Always use your scooter’s manual for details.
Pride scooters keep their limiters in the controller. Here’s what to do:
- Turn off the scooter and disconnect the battery. This stops electrical shocks.
- Find the controller (usually under the seat or in the rear of the scooter).
- Remove the controller’s plastic cover with a screwdriver.
- Look for the limiter: it might be a small wire harness or a labeled resistor (check the manual for names like “speed restrictor”).
- Gently disconnect the limiter’s wires or pull it out of the controller.
- Put the cover back on, reconnect the battery, and test the scooter slowly.
Rascal’s process is similar but with small differences:
- Disconnect the battery first—never work on a live scooter.
- Locate the controller (often near the footrest or under the body).
- Open the controller cover. Rascal’s limiters are often colored wires (like red or yellow) connected to a small module.
- Unplug the wire connector from the module. Some models need you to cut the wires (but this is risky—only do it if the manual says so).
- Reassemble the controller, reconnect the battery, and test speed gradually.
For unbranded or basic electric scooters:
- Disconnect the battery and find the controller.
- Check for a “speed pot” (a small dial) on the controller. This is a physical limiter you can adjust, but some users remove it entirely.
- If it’s a wire-based limiter, look for two thin wires twisted together or connected to a plug. Unplug or cut them (again, check the manual).
- For software limiters (more common in new models), you might need a special tool to reprogram the controller. This is best left to a pro.
If you decide to proceed, follow these rules to avoid injury or damage:
- Wear protective gear: Gloves keep your hands safe from sharp parts, and safety glasses shield your eyes from debris.
- Disconnect the battery: Always do this first. Even a small spark can cause shocks or fire.
- Read the manual: Your scooter’s manual has exact locations and warnings. Ignoring it is a big risk.
- Use the right tools: A set of small screwdrivers (Phillips and flathead) works for most jobs. Avoid using pliers or force—you might break wires.
- Work in light: A well-lit area helps you see small parts and avoid mistakes.
- Test slowly: After removing the limiter, ride the scooter at a low speed first. Check how it handles and stops before going faster.
Removing a speed limiter might make your scooter faster, but it comes with big downsides. You’ll lose your warranty—so any repairs will cost you. Faster speeds make the scooter harder to control, especially on uneven ground or around people. And in many places, modified scooters are illegal to use on public sidewalks or roads.
If you need more speed, there’s a safer option: buy a heavy-duty mobility scooter. Many of these are designed to go up to 15 mph legally, with better brakes and stability for faster travel.
At the end of the day, safety should come first. If you’re unsure about removing the limiter, talk to a certified technician. They can help you understand the risks and find the best solution for your needs.
