Mobility scooters are essential companions for individuals seeking independence and convenience, but like any battery-powered device, their performance hinges on healthy batteries. Over time, batteries degrade, leading to reduced runtime and diminished reliability. Knowing how to replace your mobility scooter’s battery safely and correctly can extend the lifespan of your device and ensure you stay on the move. This guide will walk you through the process, from identifying when a replacement is needed to completing the installation and proper disposal of old batteries.
Signs Your Mobility Scooter Battery Needs Replacement
Before diving into the replacement process, it’s crucial to recognize the warning signs that your battery is nearing the end of its life. Common indicators include:
Reduced Travel Distance: If your scooter runs out of power faster than usual or struggles to reach its typical range, the battery may be losing capacity.
Long Charging Times: Batteries that take significantly longer to charge or never reach a full charge signal degradation.
Swelling or Leaking: Physical damage like bulges, leaks, or a corroded terminal is a serious safety hazard and requires immediate replacement.
Dim Lights or Weak Performance: Dimming headlights or a noticeable decrease in acceleration and climbing ability often point to failing batteries.
If you notice any of these signs, it’s time to prepare for a battery swap.
Step 1: Gather the Right Tools and Replacement Batteries
Most mobility scooters use deep-cycle lead-acid batteries (either sealed AGM or gel batteries), which are designed for repeated charging and discharging. Key steps to select the correct replacement:
1.Check Your Scooter’s Manual: Look for the battery specifications (voltage, ampere-hours, dimensions). Common sizes include 12V 10Ah to 20Ah, often in pairs for 24V systems.
2.Match Type and Size: Ensure the new batteries are the same type (AGM or gel) and physically fit in the battery compartment.
3.Quality Matters: Invest in reputable brands to avoid premature failure. Avoid used or damaged batteries.
Step 2: Prepare Your Workspace
Safety First: Work in a well-ventilated area away from flames or sparks, as batteries can release flammable gases.
Power Down: Turn off the scooter and unplug it from the charger. If applicable, remove the key to prevent accidental activation.
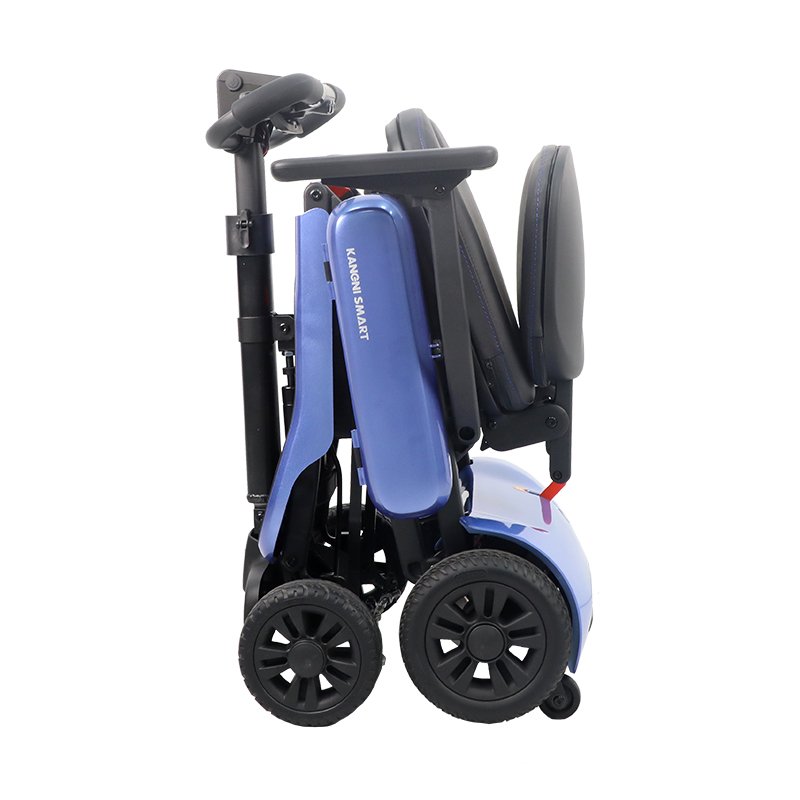
Locate the Battery Compartment: Most scooters have a removable cover under the seat or a dedicated compartment. Refer to your manual if unsure.
Step 3: Remove the Old Batteries
1.Disconnect Cables:
Start with the negative (-) cable first to avoid short circuits. Use your screwdriver to loosen the terminal clamp and gently pull the cable away.
Repeat with the positive (+) cable. Label the cables if necessary to avoid confusion during reinstallation.
2.Remove the Old Batteries:
If batteries are secured with straps, brackets, or Velcro, undo these fastenings.
Carefully lift out the old batteries, noting their orientation (e.g., which terminal faces which direction).
3.Inspect the Compartment:
Clean any corrosion on terminals with a cloth dipped in baking soda solution. Rinse with water and dry thoroughly.Check for damage to cables, connectors, or the compartment itself.
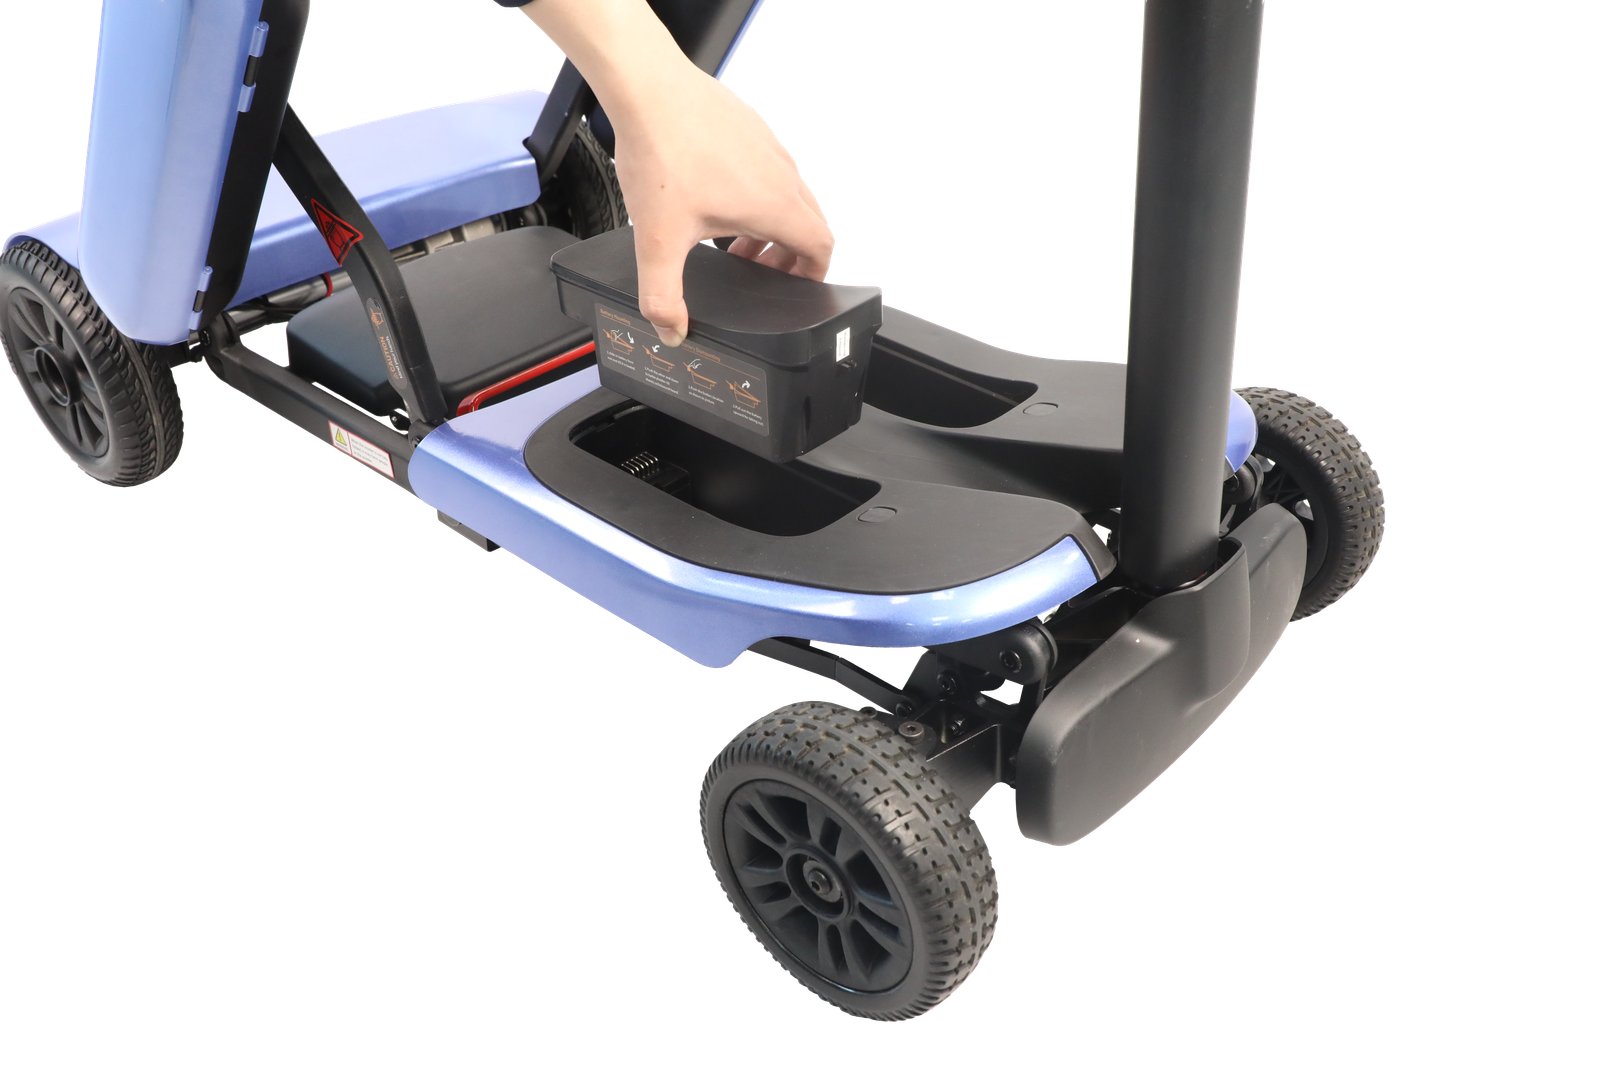
1.Position the New Batteries:
Place the new batteries in the compartment, matching the orientation of the old ones. Ensure they fit snugly and won’t shift during use.
2.Secure the Batteries:
Reattach straps, brackets, or Velcro to hold the batteries in place.
3.Reconnect the Cables:
First attach the positive (+) cable to the corresponding terminal, tightening the clamp securely.Next, connect the negative (-) cable. Again, ensure a tight fit to prevent loose connections.
4.Double-Check Connections:
Confirm all cables are securely fastened and not touching metal parts that could cause a short circuit.
1.Power Up and Test:
Replace the battery compartment cover and turn on the scooter. Check the battery indicator to ensure it shows a charge.
Take a short test drive to confirm smooth operation, proper acceleration, and no unusual noises.
2.Charge the New Batteries:
Even if the new batteries show some charge, fully charge them before extended use to optimize their lifespan.
3.Dispose of Old Batteries Responsibly:
Lead-acid batteries are hazardous waste and should never be thrown in the trash. Take them to a recycling center, automotive store, or specialized battery recycling facility. Many retailers offer free recycling for old batteries.
Regular Charging: Avoid letting batteries fully discharge; recharge them after each use, especially if you haven’t used the scooter for several days.
Storage Practices: If storing the scooter long-term, charge the batteries to 80% and disconnect them to prevent self-discharge. Recharge every 2–3 months.
Clean Terminals: Periodically check for corrosion and clean terminals with baking soda solution to maintain good connections.
Professional Maintenance: If you’re unsure about any step or encounter technical issues, consult a certified mobility scooter technician.
Replacing your mobility scooter’s battery may seem daunting, but with careful preparation and following these steps, it’s a manageable task that can save you time and money. Regular battery maintenance and timely replacements are key to ensuring your scooter remains a reliable and safe mode of transportation. By prioritizing safety, using the right components, and disposing of old batteries properly, you’ll enjoy years of trouble-free mobility. Stay powered up and keep moving forward!
Copyright@ 2026 Nanjing Kangni Smart Technology Co., Ltd. All Right Reserved.